Raspberry Pico: Getting Picoprobe, OpenOCD and GDB to work with Rust on Mac M1
Today I have my second Raspberry Pico arrived to my place, I'm so excited because now I can connect these two picos (Raspberry Pico) where the one is working as a probe or debugger for the another.
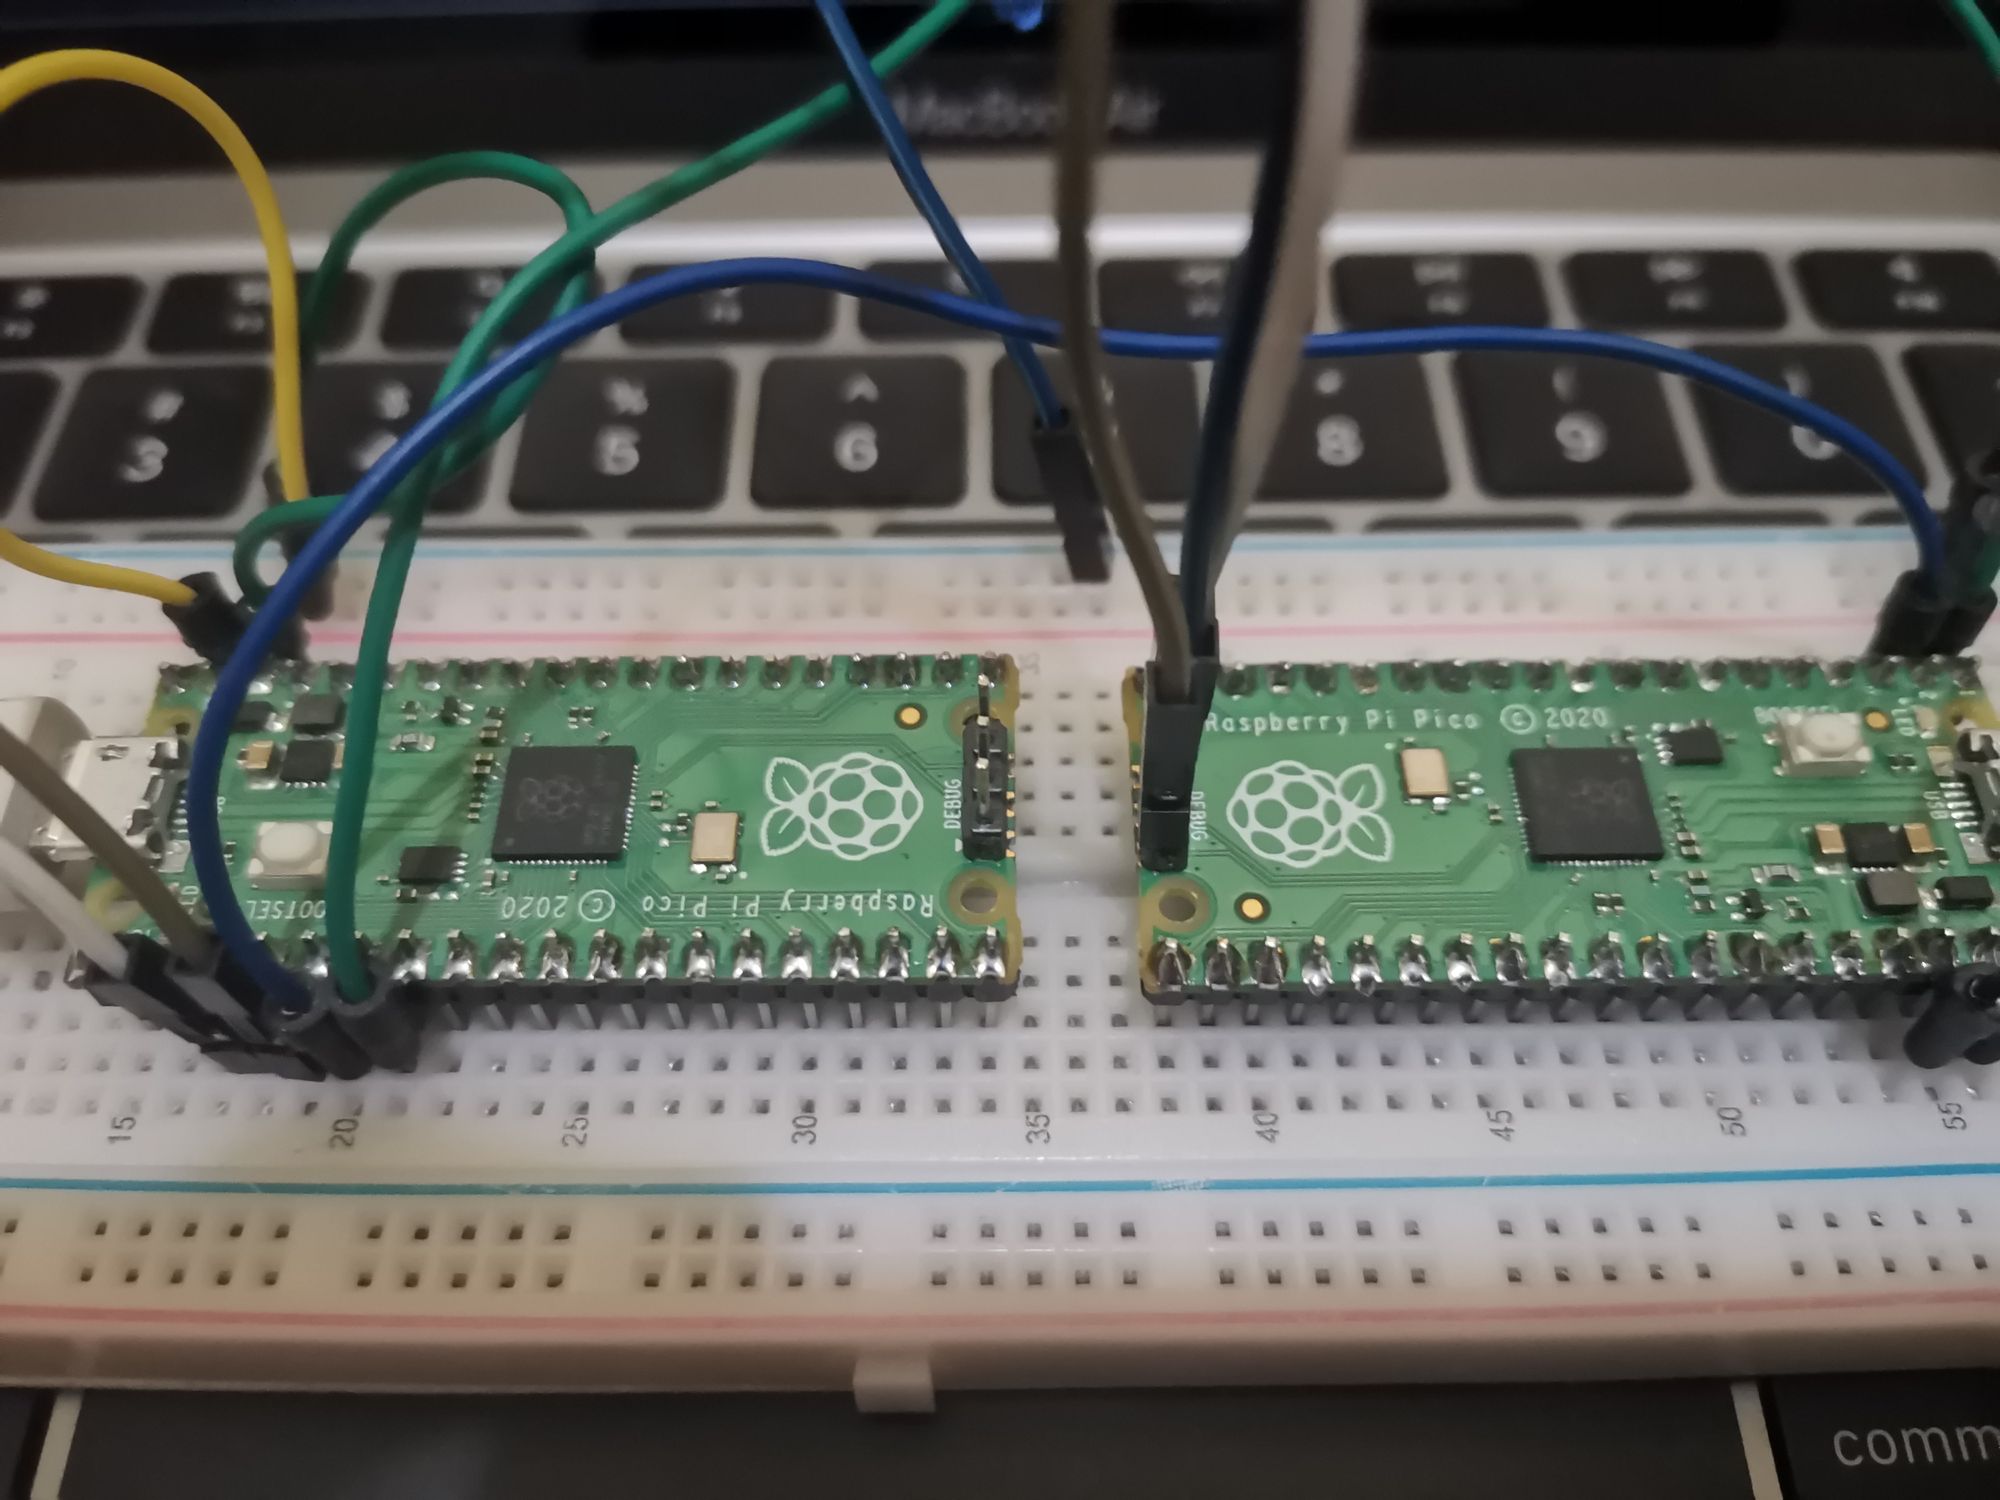
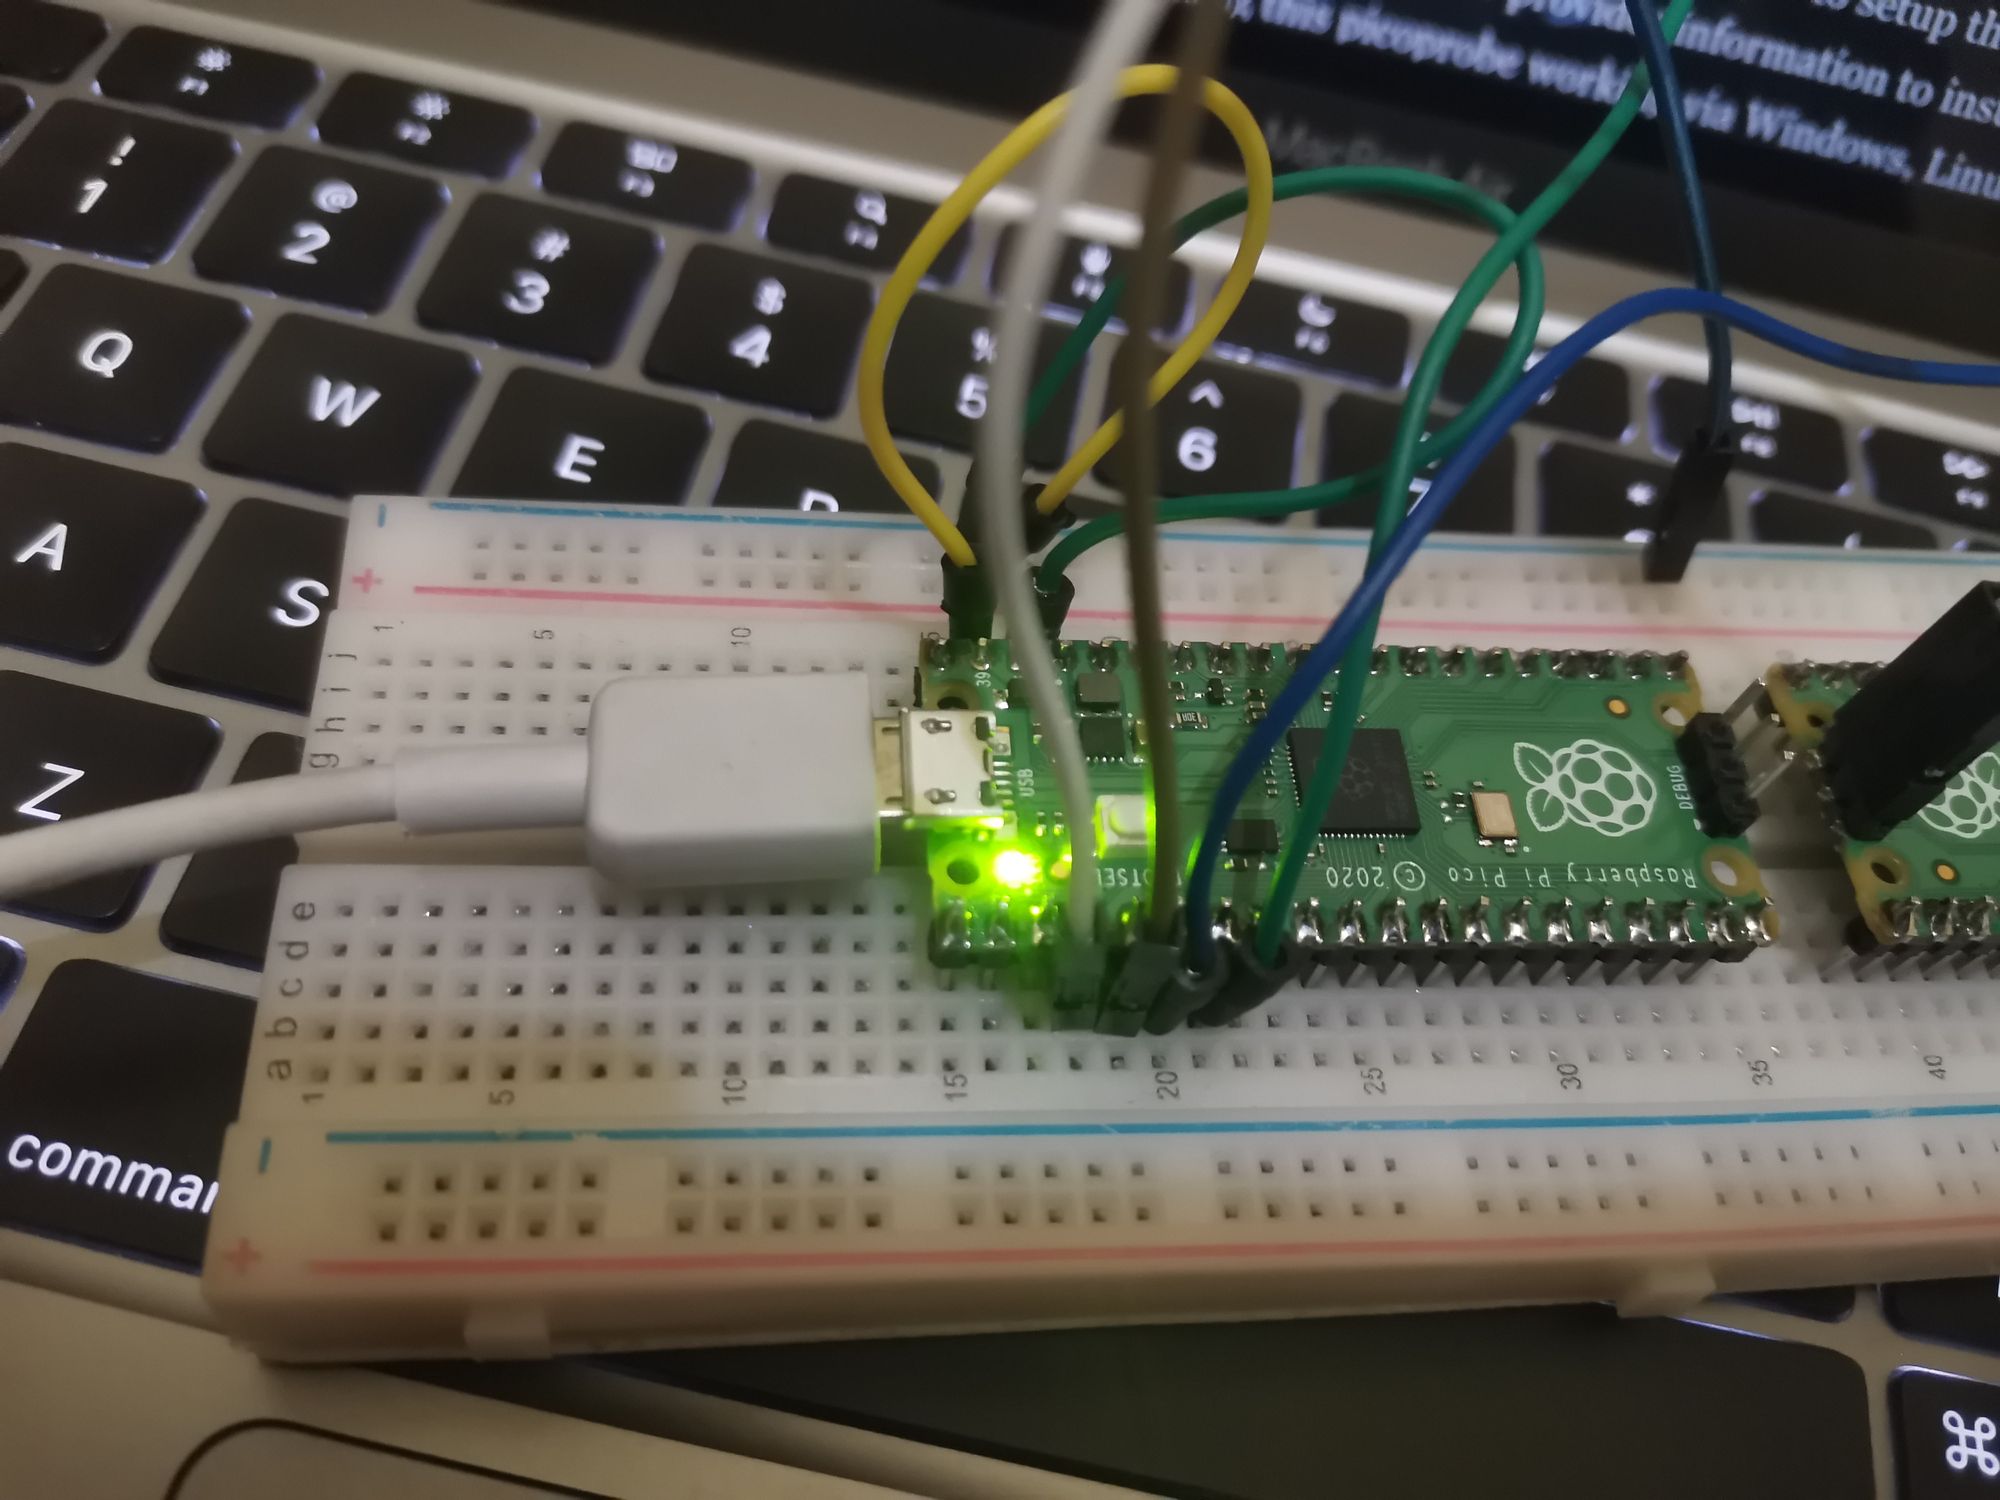
The picture above is the configuration of my picos to be working for picoprobe, picoprobe is the firmware to reprogram or debug another Raspberry Pico via the connected pins between those two. Basically we will use this (left) pico installed with picoprobe to be an agent or "companion" when we do programming and debugging to the next pico (right).
For more details about this picoprobe, You can visit the documentation on the https://datasheets.raspberrypi.com/ page, go to this section pico/getting-started-with-pico.pdf to download the PDF.
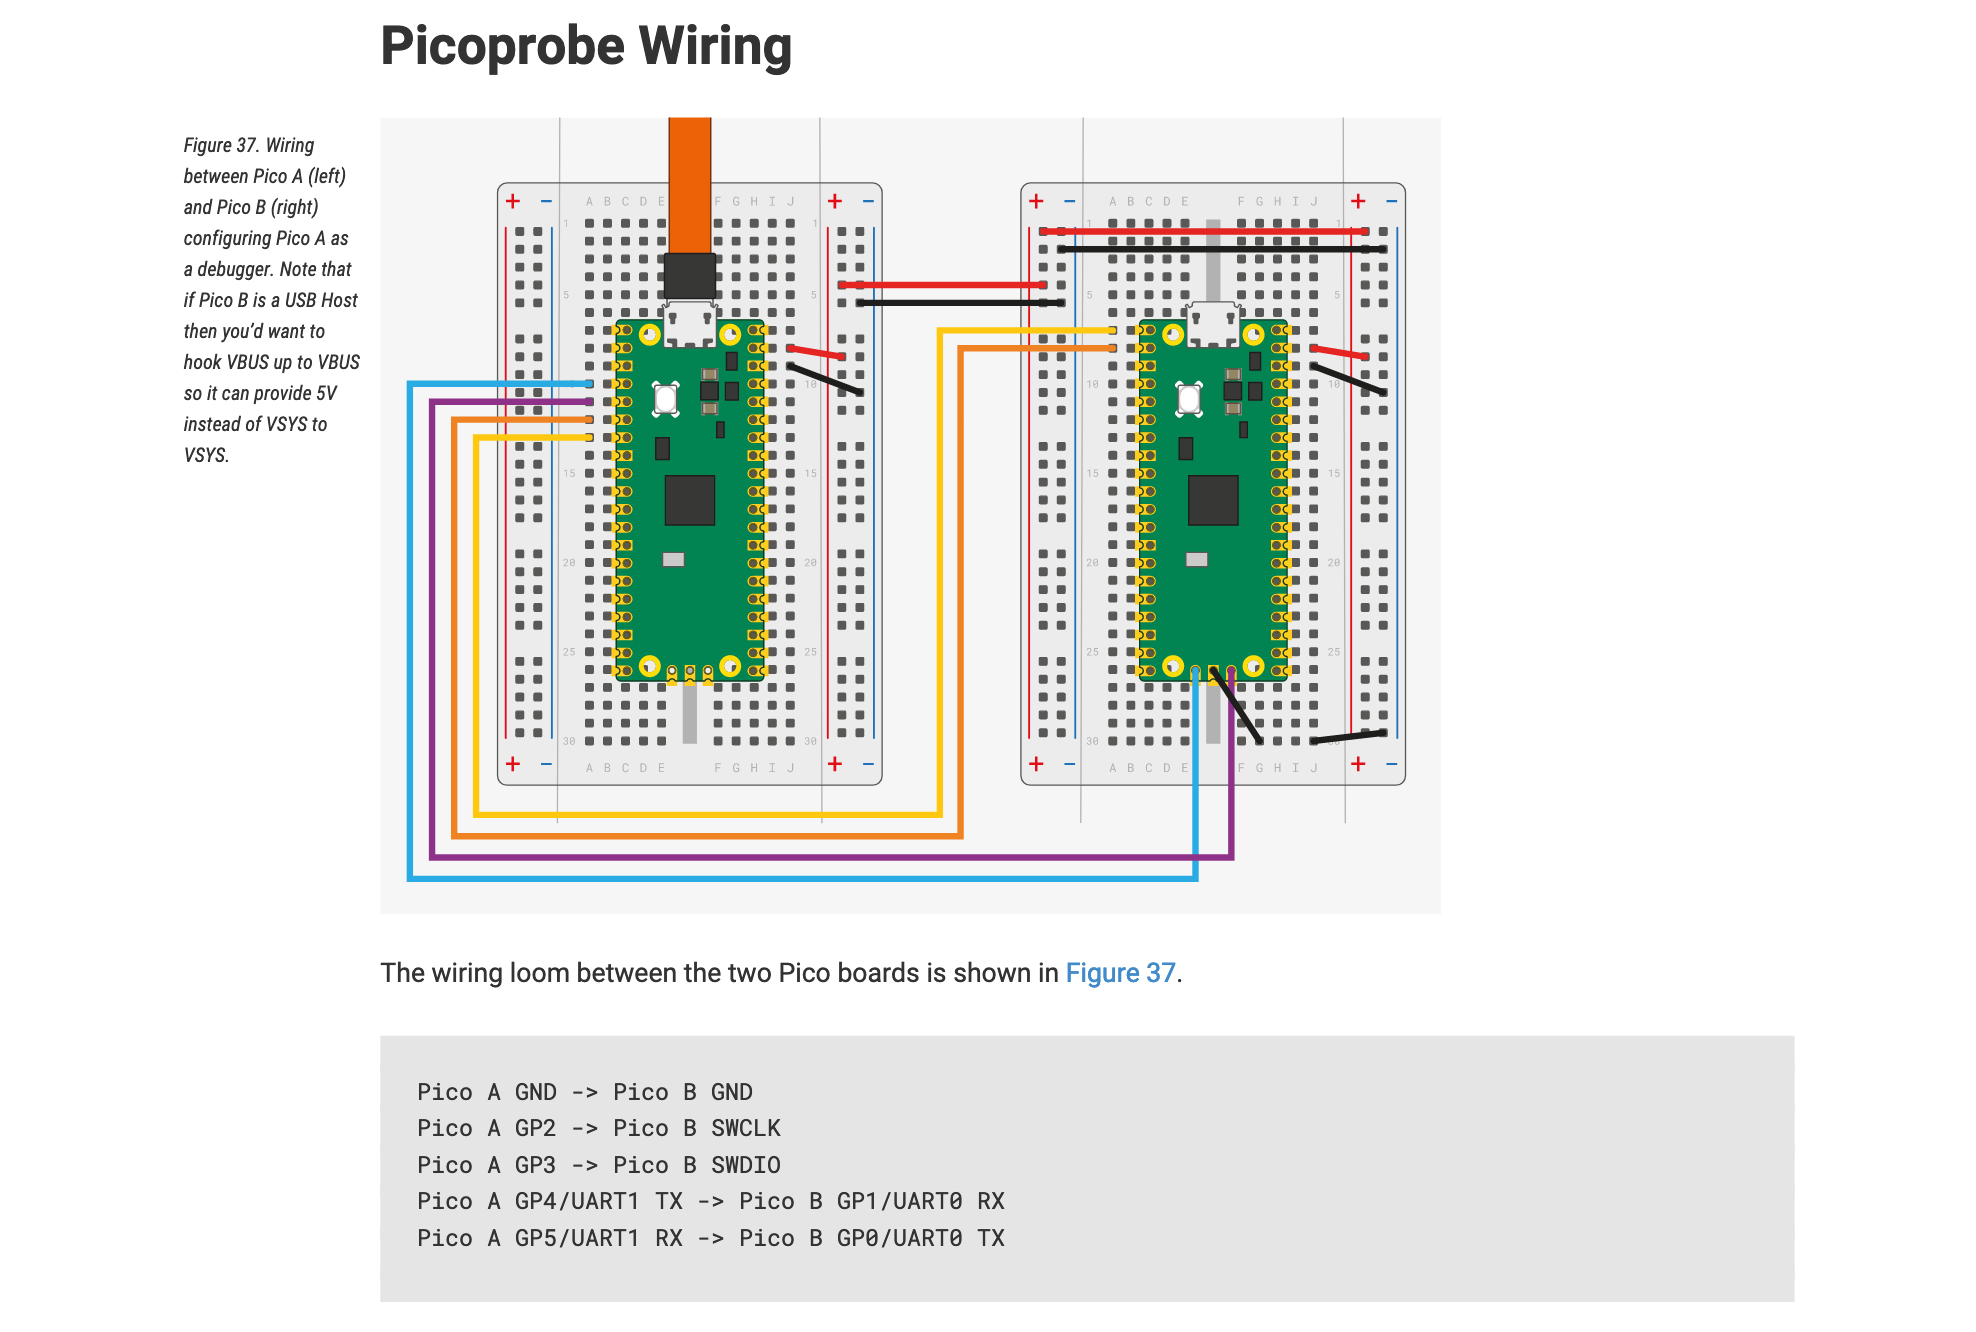
The PDF documentation includes the instruction about how to setup the picoprobe using OpenOCD as displayed above. It's also provides information to install OpenOCD, the tools for making this picoprobe working via Windows, Linux and Mac.
In this article I will share my experience when installing the required libraries on the M1 Mac, hopefully everything is good and finally programming with this Pico on the beautiful weekend! (fingercrossed 🤞)
Install Arm GNU Toolchain
$ brew tap armmbed/homebrew-formulae
$ brew install arm-none-eabi-gccThe command above will install the GNU toolchain for the Arm architecture, this is needed because our Pico is based on Arm processor architecture.
Install Dependencies for OpenOCD
$ brew install libtool automake libusb wget pkg-config gcc texinfoThe command above will install dependencies needed for building OpenOCD locally.
For texinfo we will need to export the path, or place into our terminal configuration such as~/.bashrc, ~/.zshrc or other.
export PATH="/opt/homebrew/opt/texinfo/bin:$PATH"Clone OpenOCD for RP2040
Before we install OpenOCD, we need to clone the Source of OpenOCD for Raspberry Pi.
$ git clone https://github.com/raspberrypi/openocd.git --branch rp2040 --depth=1The command above will clone the repository and use branch rp2040 which specifically used for our Raspberry Pi processor.
Build & Install OpenOCD
After successfully cloned from step above, we will build and install the OpenOCD locally by running this command.
$ cd openocd
$ ./bootstrap
$ ./configure --enable-picoprobe --disable-werror
$ make -j4Fix Missing Library for Mac M1 💻
If every command that you running on the previous step is resulting without any errors, congrats! You're ready to go with picoprobe! the last thing You just have to do make install after that.
But if you found an error like this.

fatal error: 'capstone/capstone.h' file not foundBased what I found on the idcrook comment here we can resolve this issue by checking capstone dependency, and doing some configuration change when building the OpenOCD.
In my case, these are steps to fix the issue.
[The Fix] Make Sure Capstone is Installed 🛠
First thing is You have to make sure capstone is already installed by running the command below, in my case capstone is already installed.
$ brew install capstoneCheck the capstone is available by doing this command.
$ brew list capstoneon mine it shows the list like this
/opt/homebrew/Cellar/capstone/4.0.2/bin/cstool
/opt/homebrew/Cellar/capstone/4.0.2/include/capstone/ (14 files)
/opt/homebrew/Cellar/capstone/4.0.2/lib/libcapstone.4.dylib
/opt/homebrew/Cellar/capstone/4.0.2/lib/pkgconfig/capstone.pc
/opt/homebrew/Cellar/capstone/4.0.2/lib/ (2 other files)Clearly I have capstone installed here, so the next step is to tell the configuration command to include the capstone header, as previously need capstone header to be present on the system capstone/capstone.h
Also if you checkout the source code where the error tells you before at src/target/arm_disassembler.c it is requiring the capstone but located in the wrong place

So instead of requiring the capstone header at capstone/capstone.h we need to change the path into our own capstone path header.
[The Fix] Find Capstone Header Path 🛠
First, we have to find out where the path of capstone header is placed by executing this command.
$ pkg-config --cflags capstone
-I/opt/homebrew/Cellar/capstone/4.0.2/include/capstoneThen show the content of the path
$ ls -lah /opt/homebrew/Cellar/capstone/4.0.2/include/capstone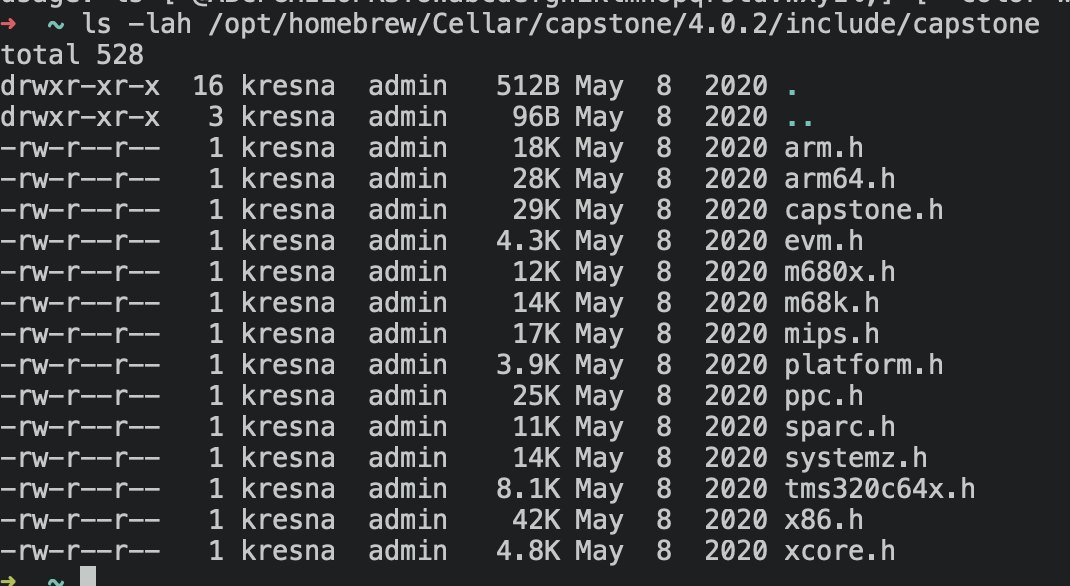
It is clearly now we had capstone.h located on -I/opt/homebrew/Cellar/capstone/4.0.2/include/capstone, now we get back to openocd directory and redoing all command but with custom capstone path along the build process.
[The Fix] Configure OpenOCD 🛠
If You go into the openocd directory, You will find there's an option to set custom capstone by running this command.
$ ./configure --help
...
CAPSTONE_CFLAGS
              C compiler flags for CAPSTONE, overriding pkg-config
...You'll notice there is CAPSTONE_CFLAGS environment option to set our custom capstone path. Now we can rebuild again using this option.
$ CAPSTONE_CFLAGS=-I/opt/homebrew/Cellar/capstone/4.0.2/include/capstone ./configure --enable-picoprobe[The Fix] Change path on Source Code 🛠
After running ./configure we need to change the path of capstone header on the OpenOCD source code before running make command again, there are several files that we need to change.
src/target/arm_disassembler.c
#if HAVE_CAPSTONE
#include </opt/homebrew/Cellar/capstone/4.0.2/include/capstone/capstone.h>
#endif
src/target/a64_disassembler.c
#include </opt/homebrew/Cellar/capstone/4.0.2/include/capstone/capstone.h>Then we could run the next command
$ make -j4Now the command results without any error!
Test OpenOCD is Running 🎉
Finally we can test our OpenOCD binary by running /src/openocd command inside the openocd directory

Although there are errors, the openocd binary is successfully running. The error here is because we have no configuration option have been passed into the program.
Now we can confidently install the binary into the system
$ sudo make installFlashing Picoprobe Firmware
Now it is the time to flash picoprobe firmware!
First download the UF2 software by visitting this link https://datasheets.raspberrypi.com/soft/picoprobe.uf2
The download link is based on the documentation here

Place this picoprobe.uf2 file onto some directory, on mine it's on Downloads directory.
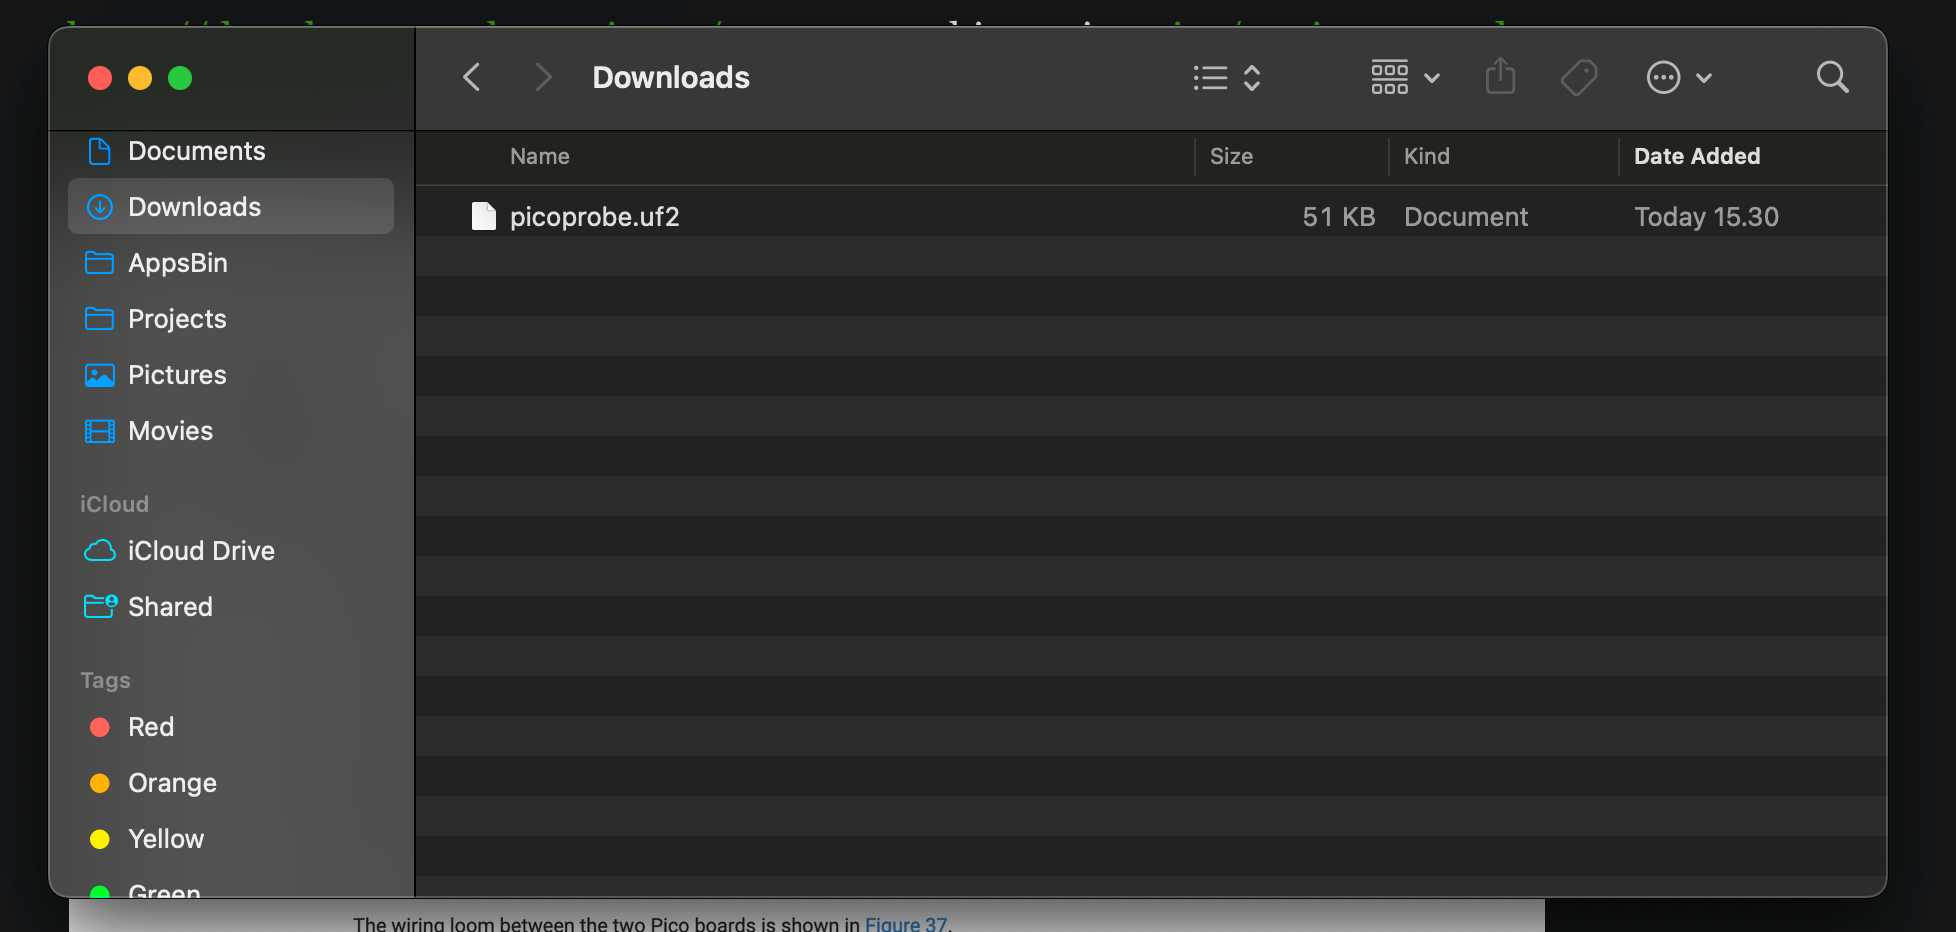
Then flash the file to our Raspberry pico device connecting the USB and holding the BOOTSEL button while plugging in the device, this action will mount RPI-RP2 and then drag-n-drop the picoprobe.uf2 file into that location.
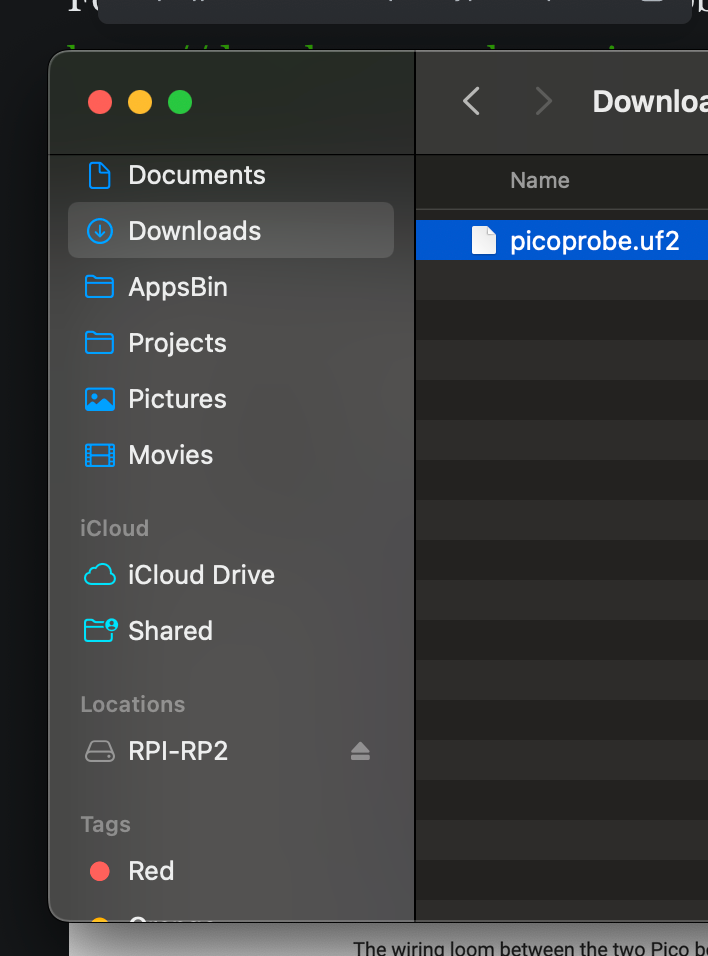
If everything is ok, You'll see the LED on the pico is now ON, meaning the process is successfull.
Installing Minicom
Turns out this step isn't required, I still can't use minicom to debug the output of the program flashed via picoprobe, so You could skip this step to the next one.
We need to install minicom to work with pico's UART (serial port), this program will allows us to read debug messages coming from our pico program (debugging purpose).
$ brew install minicomThen test the device by finding out first where the device is located.
$ ls -lah /dev | grep tty.usb
crw-rw-rw- 1 root wheel 0x900000a Oct 9 15:46 tty.usbmodem11301
On my machine the device is located at /dev/tty.usbmodem11301 so later we can see the debug logs via minicom using this command.
$ minicom -D /dev/tty.usbmodem11301 -b 115200You can exit from minicom by pressing the ESC then X, the minicom will prompt the exit confirmation
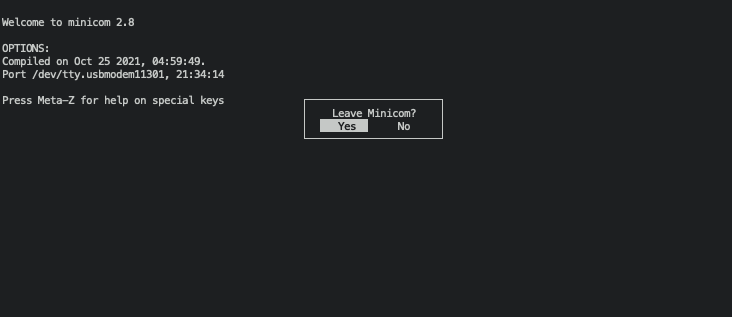
You may try disconnect and reconnect the USB for the pico, to make sure you have the correct device location. When the device isn't connected, the command ls -lah /dev | grep tty.usb will show nothing.Test Rust Project
Clone the project by
$ git clone --depth=1 git@github.com:rp-rs/rp2040-project-template.git
$ cd rp2040-project-templateAdd dependency for supporting Arm for Rust Project
$ rustup target add thumbv6m-none-eabiAlso add some project dependencies to support project development
$ cargo install flip-link
$ cargo install probe-run
$ cargo install elf2uf2-rs --lockedThen build from the inside of the rp2040-project-template project
$ cargo buildIf everything is ok, you will have the project successfully compiled like this.

Now it's time to go back to openocd directory that we already cloned before, and run this command.
$ cd /your-path/openocd
$ openocd -f interface/picoprobe.cfg -f target/rp2040.cfg -s tcl
This process will start GDB server and listening connections at port :3333
Now open another terminal, go to the rp2040-project-template project path and run the program using target port for GDB to :3333
$ cd /your-path/rp2040-project-template
$ arm-none-eabi-gdb -q -ex "target extended-remote :3333" target/thumbv6m-none-eabi/debug/rp2040-project-template
After (gdb) prompt is showing, type load to load our rust program that already compiled before (via cargo build) and press enter, then type continue or c to start run the program, which actually a blinky program.
You will find the second pico started to blinking, meaning we're now successfully flashing the pico via picoprobe 🎊.
You can use CTRL+C to kill the program, and the blinking LED will stop.
Here's some example video from mine.


